Dear Stampers,
It is moving week for our family. My family is living out of suitcases and hotels right now. Anyone who has done this with small children knows it can be stressful. Thank you for your patience and understanding while we finish the last few days in Lawton, Oklahoma and begin our first few days in Honolulu, Hawaii. I will get back to blogging as soon as I possibly can. It should only be a week or so.
Happy Stampin'
Kathleen

Monday, February 27, 2012
Saturday, February 25, 2012
Odd Job for the Big Shot
This one is not a paper crafting projects, but still a really great use of my Stampin' Up! tools. My daughters teacher asked the other day if I could cut her some foam circles. The kids use them in class for their math lessons. (Don't ask me how. I am not sure). I of course replied that I have something that could easily cut her a bunch of circles.
 I went home and pulled out my Big Shot. The foam she gave me was about 1/8" thick. It came in small sheets. I cut the foam into strips with my scissors then used the Circles #2 Original Die to cut them with the big shot. So easy and saved her a ton of money over buying the ones at the teacher supply store. The die will cut 4 circles of different sizes. I used the second smallest one. I did them in 4 different colors so the kids can do different values for each color.

Friday, February 24, 2012
It's A Party Blog Hop
Sorry my post is so late today. We are down to the last few days before the big move. Since I have nothing of mine to show you today, I thought I would tell you what my friends at Stampin' Addicts are doing.

This is the 3rd Anniversary of the Stampin' Addicts website. To celebrate they are hosting a Party Themed Blog Hop. Simply go to STOP # 1 at Yapha's blog to start the hop, then follow the links at the bottom of each post to go to the next stop. If you get lost along the way or want to chat about the hop go to the Stampin' Addicts Chat Thread.
Have fun hopping.
Thursday, February 23, 2012
Stampin' Up! on YouTube
Did you know that Stampin' Up! has their own YouTube channel? Well, they do. The official Stampin' Up! YouTube channel has video demonstrations from the SU! home office and several Demonstrators of the Year.
They have videos for PRODUCTS...such as the NEW Doily Framelit Die.

Videos for TECHNIQUES.....like Dying the Bakers Twine.

They even have some of the FUNNY COMMERCIALS that other demonstrators have submitted about SU! for contests.

Be sure to check out the Stampin' Up! YouTube Channel today.
They have videos for PRODUCTS...such as the NEW Doily Framelit Die.

Videos for TECHNIQUES.....like Dying the Bakers Twine.

They even have some of the FUNNY COMMERCIALS that other demonstrators have submitted about SU! for contests.

Be sure to check out the Stampin' Up! YouTube Channel today.
Wednesday, February 22, 2012
Thank you Lawton
My family is getting ready to move to Hawaii next week. Three weeks ago I had an appreciation party for my customers from the past year. We had a great time. There was not an empty seat in the house.


I want to take this time to say THANK YOU to all of my SW Oklahoma customers. I have enjoyed the time together with all of you. Thank you for allowing me to share my love of Stampin' Up! with you. Many of you have become life long friends through stamping.
Special thanks go to Carol. It means so much to me that you gave me a card. You did a wonderful job. I will certainly use the Lei idea in workshops with my new customers. (For more on Carol's birds check out this post)

I hope you all keep stamping.
Tuesday, February 21, 2012
Stampin' Addicts
I like to think that I have a creative side. There are times though that I need a little inspiration or idea from other stampers. That is when I turn to Stampin' Addicts.
Stampin' Addicts is a FREE online forum of stampers who are "Positively Creative! Positively Stampin' Up!" The website was started by a few demonstrators who needed a positive place to show their projects and trade ideas. The website is open to anyone (not just demonstrators) who loves Stampin' Up!
There are FORUMS where you can get ideas and how to's for techniques, ask about product uses or just chat about life. There is even a forum for demonstrators to discuss ideas for classes and workshops, even the upcoming promotion or Stampin' Up! event.
Need something to get you motivated or inspired for a place to start. Check out the CHALLENGES. Each day of the week is designated for a particular challenge. Things like Color, Sketch, Technique and Scrapbooking are a few of the challenge categories. You can then post your projects for everyone to see or check out what they have done for further inspiration.
One of my favorite places on Stampin' Addicts to check out is the GALLERY. The gallery is filled with projects other stampers have posted. You can search by a particular Stampin' Up! Stamp Set, product, technique, or Occasion. We all love positive feedback, so post your Stampin' Up! projects and others can leave you comments.
The next time you are looking for some inspiration or have a question, consider Stampin' Addicts for the answer.
Monday, February 20, 2012
Mixed Bunch Birthday
I sat down the other day to make birthday cards for the ladies in my church group. I didn't have much time and 95% of my stamping supplies are in huge crates heading to our new home. I kept back the demonstrator starter kit done My Way (theme for Stampin' Up! in 2012) to use for the next two months. Here is what I came up with.
.JPG) I went with a monochromatic color scheme using soft subtles. The above card is in Certainly Celery. There are others below in Pretty in Pink and Marina Mist. The Mixed Bunch Stamp Set from the Occasions Mini Catalog are perfect for simple fast cards. They work for everything ....birthdays, sympathy, thank you, get well, even baby. The stamp set comes with three large flowers and 3 small circle designs you can use for further embellishing your flowers or cards. There is also a coordinating punch for all the images.
I went with a monochromatic color scheme using soft subtles. The above card is in Certainly Celery. There are others below in Pretty in Pink and Marina Mist. The Mixed Bunch Stamp Set from the Occasions Mini Catalog are perfect for simple fast cards. They work for everything ....birthdays, sympathy, thank you, get well, even baby. The stamp set comes with three large flowers and 3 small circle designs you can use for further embellishing your flowers or cards. There is also a coordinating punch for all the images.
 The Designer Paper is from the Paper Patterns Stacks. You get 40 sheets of 12x12 double sided paper. There are 4 sheets of each color in the color family. The sentiment is from my favorite word stamp set Sincere Salutations. It is a go to for any occasion.
.JPG)

Products Used:
Stamps: Mixed Bunch (wm#125535, cm#125537), Sincere Salutations (#115068)
Colors: Certainly Celery, Pretty in Pink, Marina Mist, Soft Subtles Paper Patterns Stack (#117152), Basic Black Classic Ink (#101179)
Accessories: Dimensionals (#104430), Blossom Punch (#125603)
ORDER ONLINE 24/7 at My Demonstrator Website. Order $50 in Product (before tax and shipping) and receive a Sale-A-Bration item for FREE! and a Frequent Stamper Miles Token from me.
 |
| Mixed Bunch (wm#125535, cm#125537) |
 |
| Sincere Salutations (wm#115608) |
Sunday, February 19, 2012
Digital Kits for My Digital Studio
 |
| Twiterpatted Digital Kit #129332 $9.95 |
 |
| It's All Me Kit (Digital Exclusive) #128999 $9.95 |
There are over 50 Digital Kits available online. Some are even digital exclusive, meaning Stampin' Up! does not sell those images in a stamp or paper form. All of the kits coordinate with Stampin' Up! colors so you can easily create hybrid projects.
 |
| Celebrations Kit #123728 $9.95 |
Here are a few more of the kits available. For more My Digital Studio Kits, go to MY DEMONSTRATOR WEBSITE STORE.
 |
| You're My Sunshine Kit (Digital Exclusive) #128883 $7.95 |
 |
| Day in the Life Kit (Digital Exclusive) #128876 $14.95 |
 |
| One Great Year Kit #124463 $9.95 |
Saturday, February 18, 2012
My Digital Studio Newest Downloads

 |
| New Heights Kit #129898 $7.95 |
 |
| So Cool & Seriously Sassy Stamp Brush Set #129594 $5.95 |
 |
| Crosses of Hope Stamp Brush Set #129595 $1.95 |
Friday, February 17, 2012
Fresh Vintage
Fresh Vintage was a popular Sale-A-Bration stamp set to use for Leadership swaps last month. I have three of them for you today with very different looks.
The first one, by Shari Fritz, uses ink shading and rough edges to achieve the vintage look. The main image was done by coloring directly on the stamp with Stampin' Write Markers.

The second one, by Shari Caspers, is a more traditional design with bold colors. Shari also features the Label Collection Framelits.

The last one is my favorite for today. I love the soft look that Nelda Clements created. She also featured the Paper Doily Sizzlet Die. The simple colors make this card perfect for any number of occasions.
--Nelda+Clements.JPG)
ORDER ONLINE 24/7 at My Demonstrator Website. Order $50 in Product (before tax and shipping) and receive a Sale-A-Bration item for FREE! and a Frequent Stamper Miles Token from me.
Thursday, February 16, 2012
Sprinkled Expressions
Did I mention how much I love the Sale-A-Bration stamp sets this year? Well, I do. Sprinkled Expressions especially. It is so easy to use and make a quick card that looks like it took much longer. Here is my favorite Sprinkled Expression swap from Leadership.
This technique is a favorite of mine. Simply stamp your image several times onto Whisper White cardstock and then emboss with your favorite Big Shot embossing folder. The Sprinkled Expressions stamp set comes with 3 images (Hearts, Star and Flower) along with 3 coordinating sentiments.
ORDER ONLINE 24/7 at My Demonstrator Website. Order $50 in Product (before tax and shipping) and receive a Sale-A-Bration item for FREE! and a Frequent Stamper Miles Token from me.
--Sheila+van+Uitert.JPG) |
| Card By: Sheila van Uitert |
 |
| Close up of technique |
ORDER ONLINE 24/7 at My Demonstrator Website. Order $50 in Product (before tax and shipping) and receive a Sale-A-Bration item for FREE! and a Frequent Stamper Miles Token from me.
Wednesday, February 15, 2012
A few Sale-A-Bration samples
Sale-A-Bration (SAB) is in full swing. I love this promotion and look forward to it every year. The joy of getting something for free just because you ordered is fantastic. I use it as my opportunity to stock up on cardstock and other consumables I use throughout the year.
This years FREE SAB stamp sets are so diverse in their design. Add in the Designer Paper, Brad & Ribbon Pack and the Digital Download options and you have something for everyone. The stamp sets this year are perfect for simple quick cards. Here are a few of my favorites I received at the Leadership Swaps.
ORDER ONLINE 24/7 at My Demonstrator Website. Order $50 in Product (before tax and shipping) and receive a Sale-A-Bration item for FREE! and a Frequent Stamper Miles Token from me.
This years FREE SAB stamp sets are so diverse in their design. Add in the Designer Paper, Brad & Ribbon Pack and the Digital Download options and you have something for everyone. The stamp sets this year are perfect for simple quick cards. Here are a few of my favorites I received at the Leadership Swaps.
 |
| Unknown artist--Features the Elementary Elegance Stamp Set and the Everyday Enchantment Brad and Ribbon Pack |
 |
| By Barb Thomas--Features the Kindness Matters Stamp Set |
 |
| By Susan Finn--Features the Outlines Occasions Stamp Set |
Tuesday, February 14, 2012
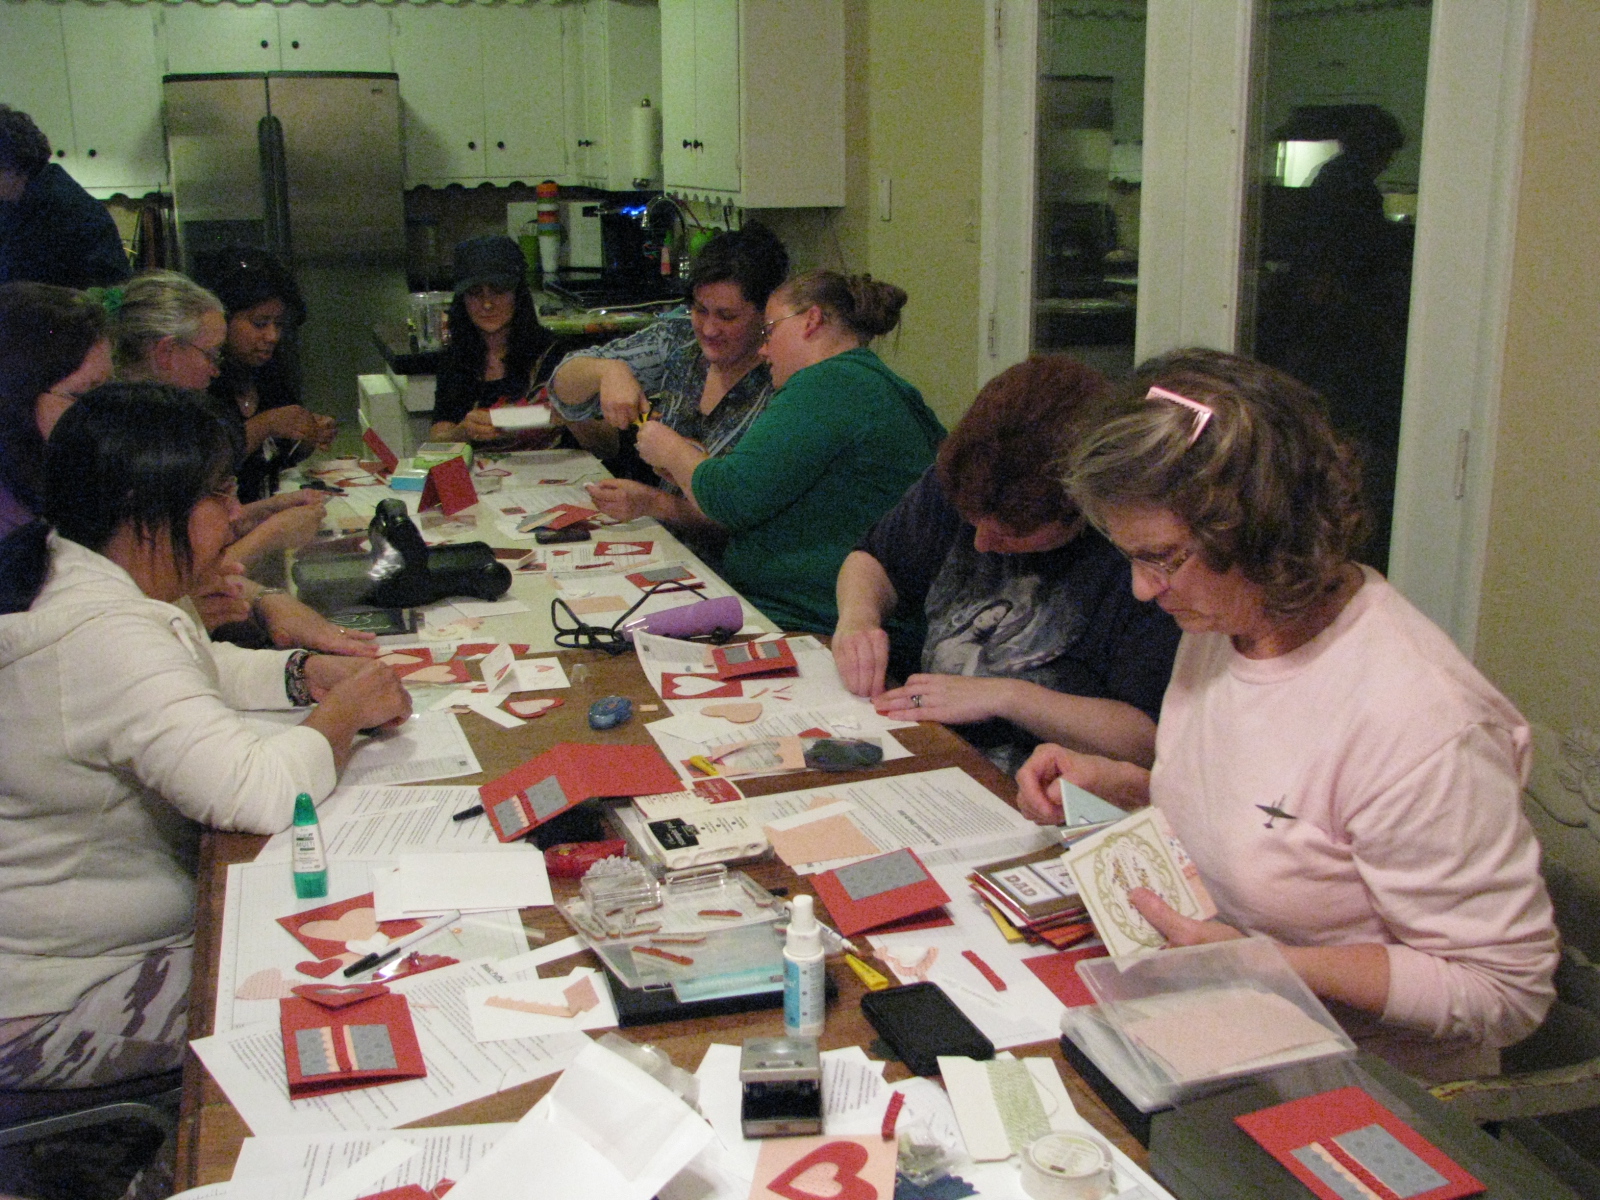
Happy Valentine's Day

I had the blessing of spending this morning with all my wonderful ladies at church. I am sure going to miss them when we move in two weeks. There is no way I could ever express to them how much they have meant to me the last 5+ years. I did want to give them each something small to say how much they mean to me. In the spirit of Valentine's Day I gave them each one of these treats.
.JPG)


Check out more about My Digital Studio Here and how you can try it out FREE for 30 Days!
ORDER ONLINE 24/7 at My Demonstrator Website. Order $50 in Product (before tax and shipping) and receive a Sale-A-Bration item for FREE! and a Frequent Stamper Miles Token from me.
Monday, February 13, 2012
Valentine's Class Project #4 of 4


The images on the front are from the Sprinkled Expressions Stamp Set available as one of the choices of FREE stamp sets you can get for ordering $50 in products before March 30th. The heart shapes are made with the Framelit Hearts Collection. A simple piece of White Taffeta Ribbon to tie the bag shut and we're done.

Products Used:
Stamps: Sprinkled Expressions (Sale-A-Bration)
Colors: So Saffron, Rose Red, Whisper White
Accessories: Framelit Hearts Collection (#125599), Oval Punch (#119855), White Taffetta Ribbon (#109070), Tombow Mono Multi Adhesive (#110755), paper lunch bag
ORDER ONLINE 24/7 at My Demonstrator Website. Order $50 in Product (before tax and shipping) and receive a Sale-A-Bration item for FREE! and a Frequent Stamper Miles Token from me.
Sunday, February 12, 2012
Valentine Class Projects #3 of 4

The final project from the Valentine's Class is tomorrow. Don't forget to comment on my Video Tutorial from yesterday.
ORDER ONLINE 24/7 at My Demonstrator Website. Order $50 in Product (before tax and shipping) and receive a Sale-A-Bration item for FREE! and a Frequent Stamper Miles Token from me.
Products Used:
Stamps: Sprinkled Expressions (Sale-A-Bration), Delightful Dozen (wm#122650, cm#122652)
Colors: So Saffron, Rose Red, Whisper White
Accessories: Corner Rounder Punch (#119871), Basic Rhinestone Jewel Accents (#119246)
 |
| Delightful Dozen (wm#122650, cm#122652) |
Saturday, February 11, 2012
Tying A Fork Ribbon Bow
OK here it is. My very first video tutorial. My class learned how to make these bows at the Valentine Class on Monday. We did them several times so they could remember how when they got home. I have been toying with the idea of adding videos to my blog and thought this technique would be a great place to start.
PLEASE leave me a comment. I would love your input and ideas on what to do for my next video. There just might be some BLOG CANDY in it for one of you. Hint Hint. ;)
PLEASE leave me a comment. I would love your input and ideas on what to do for my next video. There just might be some BLOG CANDY in it for one of you. Hint Hint. ;)
ORDER ONLINE 24/7 at My Demonstrator Website. Order $50 in Product (before tax and shipping) and receive a Sale-A-Bration item for FREE! and a Frequent Stamper Miles Token from me.
Friday, February 10, 2012
Valentine Class Project #2 of 4
First can I mention how much I totally love the Matchbox Die. It makes projects so simple and fast to do. Last week I showed you one matchbox die project for a friend. I decided to change it just a little bit and do one with my ladies for the Valentine Class last Monday. Like yesterday's, this project is done in Rose Red and So Saffron.

The tag on top features the NEW Framelits and the Apothecary Art Stamp Set. I love the new framelits. Thin and easy to store, nesting shapes so you can mat things easily, and they have so many uses. Today they are used the most common way, cut out an image with a coordinating shape. I stamped the image twice onto Whisper White cardstock. Once in the Rose Red and again in So Saffron. The first I put through the Big Shot with the Framelit. The second one I used a marker to color the words in Rose Red before stamping. I then punched out the center with a 1" circle punch and attached it with a dimensional.
The nuggets inside the box are wrapped with So Saffron cardstock and then with images from the It's A Wrap Holiday. The It's A Wrap Holiday Stamp Set was in the Holiday Mini. It is not available as a stamp set at this time, but you can purchase the Digital Download. Don't have My Digital Studio is available as a FREE download. Try it out for 30 days. I know you will love it. The bow is made using the folk tying method and attached with a mini glue dot. What is the "fork tying method"? You will have to come back tomorrow to find out.
ORDER ONLINE 24/7 at My Demonstrator Website. Order $50 in Product (before tax and shipping) and receive a Sale-A-Bration item for FREE! and a Frequent Stamper Miles Token from me.
Products Used:
Stamps: Apothecary Art (wm#125525, cm#125527), It's A Wrap Holidays (Digital Download #127613)
Colors: So Saffrom, Rose Red, Whisper White
Accessories: Labels Collection Framilts (#125598), 1" Circle Punch (#119868), White Taffeta Ribbon (#109070), Dimensional (#104430), Matchbox Die (#114890), Big Shot (#113439), Mini Glue Dots (#103683)

Thursday, February 9, 2012
Valentine's Class Project #1 of 4
Last Monday night I had my Valentine Class. We made 4 projects, I have the first for you today. Inspiration came from the cutest little candy holder swap I received at Leadership last month. This is my version. It features the Top Note Die and the Teeny Tiny Wishes stamp set. You could make these in any color for any reason. I chose to make it in Rose Red and So Saffron.

I started with a piece of 4-1/4" x 11" cardstock scored in half at 5-1/2". I put the folded cardstock onto my Top Note Die with the end just before the curvy details so I wouldn't cut the end off. I then scored 1/4" from each side of the fold and again from point to point across one Top Note. With the excess cardstock from cutting the shape I cut a 1"x 4-1/4" piece and scored at 1/4", 3/4", 3-1/2" & 4". I put sticky strip on each end of the 1" strip and again just inside the 3/4" and 3-1/2" score lines. This piece was adhered inside the front area to make a pocket for the candy.
I decorated the front with a scrap of Designer Series Paper (this pattern is retired, but there are others just as wonderful in the Designer Paper Patterns Stacks), some taffeta ribbon and a simple tag punched with the word window and modern label punch. The "LOVE" stamped at the top is from the FREE Sale-A-Bration Stamp Set Outlined Occasions.
Be sure to check back in the coming days for the other projects made at the Valentine's Class.
ORDER ONLINE 24/7 at My Demonstrator Website. Order $50 in Product (before tax and shipping) and receive a Sale-A-Bration item for FREE! and a Frequent Stamper Miles Token from me.
Wednesday, February 8, 2012
Cupcake Valentine
This could easily be a Birthday card, but was created as a Valentine Card. A friend of mine loves cupcakes. The layout is a classic one for any 2x2 sized image.

To put a little more focus on the cupcake I matted it onto a small piece of chocolate chip set into the embossed Designer Frame. The frame comes as a set of two, the other one being an oval. The base of the cupcake was stamped with the Create A Cupcake stamp set before being punched with the coordinating punch. The top and cherry is punched straight from the colored cardstock, though there are corresponding images in the stamp set. If you have not tried the Baker's Twine, you should add some to your next order. For only $2.95 you get 25 yards of twine. It comes in 8 great colors including all of the 2011-2013 In Colors. I used the Cherry Cobbler for this card. The word Love! is part of a saying in the Loads of Love stamp set.
Valentine's Day is a week away. Make one for your special friend today.
Products Used:
Stamps: Create A Cupcake (wm#121915, cm#121982), Loads of Love (wm#115022)
Colors: Pink Pirouette, Cherry Cobbler, Confetti White
Accessories: Perfect Polka Dots Embossing Folder (#117335), Cherry Cobbler Baker's Twine (#123125), Cupcake Punch (#121807), Word Window Punch (#119857), Modern Label Punch (#119849), Big Shot (#113439), Set Designer Frames (#123130), Dimensionals (#104430)
Tuesday, February 7, 2012
Bird Punch Artwork
.JPG)
She did such a fabulous job, I had to show all of you. Please leave a comment for Carol here and I will be sure to pass them on.

.JPG)

Subscribe to:
Posts
(
Atom
)