Wednesday, September 28, 2011

Free Standing Pop-up Card

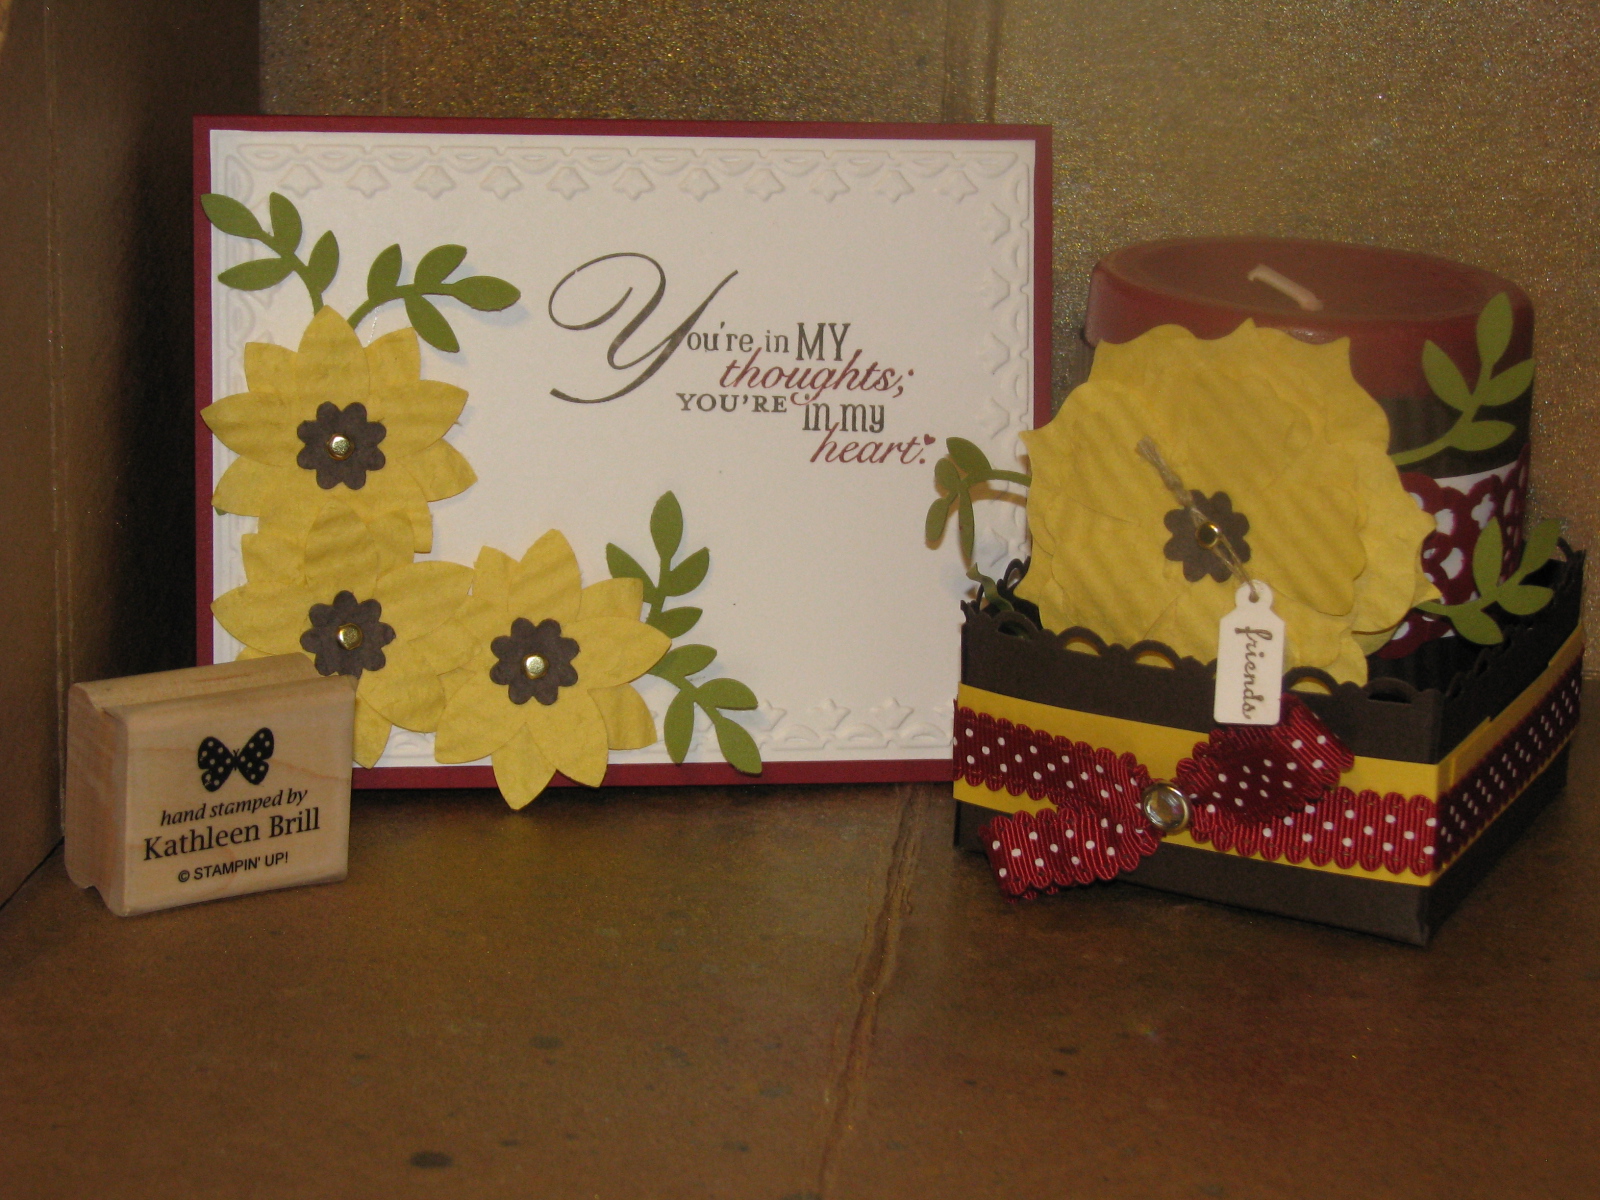
I love this fancy fold.  Makes for a fun card to give and the receiver can display their card easily.  For those who have never made a Free Standing Pop-up Card it folds up to fit in a standard size envelope.  This card was part of a Fun/Fancy Fold theme for my September Stamp Camp held a couple weeks ago.
The main image area was done with a masking technique.  You stamp the image you would like upfront first (the cloud).  Then you cover it up with the same image cut from a piece of scrap.  When you stamp the second image (the moon) it won't stamp lines through the first image.  I them masked off the cloud, the moon and the pumpkins before sponging all over the entire area.  The masks were them removed and the pumpkins and moon colored in with marker.

Don't miss out on the October Stamp Camp next month.  Check out my events calendar on My Demonstrator Website.

Products Used:
Stamps: Out on a Limb (wm#123822, cm# 123824), Teeny Tiny Wishes (wm#115370) 
Cardstock: Basic Grey (#121004), Basic Black (#121045), Whisper White (#100730)
Ink:  Basic Black (101179), Chocolate Chip (#100908), Marina Mist (#119668), Night of Navy (102977), Stampin' Write markers
Accessories: Sticky Strip (#104294), 1" Circle Punch (119868), Daffodil Delight Satin Ribbon, Pumpkin Pie Grosgrain, Early Espresso Bakers Twine (#123124), Bold Bright Buttons (#119747), Neutrals Brads (#119736), Stampin' Sponges (#101610)

Thursday, September 22, 2011

Christmas Card Class this Saturday

"Joy to the World", it is time for Christmas Card Classes.  "The Sounding Joy" is a new stamp set by Stampin' Up! in the 2011 Holiday Mini Catalog.  This set has so many possibilities.  It is perfect for those elegantly embossed Christmas cards like this one.  This will be one of the two cards we are doing at this month's Christmas Card Class on Saturday.
Only need a few cards this year?  No problem.  Need 30 cards this year?  No problem.  Come one month, two months or all three.  Each month we will be making 10 cards (5 each of 2 designs).  30 cards in all (5 each of 6 designs).  This is the first month, so you have not missed anything.  Each month is $25.00 and includes all 10 cards and envelopes.  Future class dates are October 22nd and November 19th.  Classes start at 11:00 in my home.  Call me with any questions or to register today.
Registration for this month's class closes at 6:00pm TODAY. (Sept. 22nd)


Order Stampin' Up! products online 24/7 by clicking on "Shop Now" in the upper right hand corner of My Demonstrator Website.

Products Used:
Stamps:  The Sounding Joy (wm #121967, cm #121979)
Colors:  Cherry Cobbler, Whisper White, Brushed Silver (#100712)
Accessories: Cherry Cobbler Embossing Powder (#122949), Silver EP (#109131), Dimensionals (#104430), VersaMark ink pad (#102283) , Heat Tool (#100005), Ticket Corner Punch (#119867), Cherry Cobbler Dotted Scallop Ribbon (#124138)

Monday, September 19, 2011

Birthday Boy

I have been busy the last week with workshops, classes and life in general.  I will post a few of the workshop cards in a few days.  For now I have a quick post of a Birthday Card I made for a special little 5 year old's party the other day.  I don't have any truck or dinosaur stamps, so I had to come up with something a little more general.  This card was quick, simple and can be done in any color combination to suit the receiver.
The little boy is into Transformers, so I tried to go with a bold color scheme to mimic the bold colored robots.  So you have your Optimus Prime (Real Red and Pacific Point) colored cupcake with your Bumblebee (Daffodil Delight) card base and a little Old Olive accent for good measure.  The cupcake panel and sentiment circle are put up on dimensionals (my must have product).

You can order Stampin' Up! products online 24/7 by clicking "shop now" in the upper corner of My Demonstrator Website.  Don't forget to "Follow Me on Facebook" and have all the blog updates sent directly to your News Feed.


Products Used:
Stamps:  Word Play (wm #120308, cm #120651), (Crazy for Cupcakes (wm #111618)
Colors: (cardstock and markers to color) Daffodil Delight, Old Olive, Pacific Point, Real Red, Whisper White, Chocolate Chip, Basic Black Classic Ink Pad
Accessories:  Fire Rhinestone Square Brads (#109112), Real Red Satin Ribbon (#117286), Scallop Circle Punch (#119854), 1-3/4" Circle Punch (#119850), Houndstooth Embossing Folder (#123134), Big Shot (#113439), Dimensionals (#104430)

Wednesday, September 14, 2011

Simply Stunning Doily

I really enjoy when a card is quick, easy and full of WOW!  I participated in a swap with my fellow Stampin' Addict Demonstrators a couple weeks back.  Normally in swaps I have a tendency to use lots of things like embossing folders or extra embellishments.  This time we were given strict guidelines to the number of things we could use.
We were only allowed to use one color family.....I chose Bold Brights.
We were only allowed to use one embellishment.....I chose Real Red Satin Ribbon.
We were only allowed to use one stamp set (and sentiment if none in stamp set chosen)......I chose Hello, Doily.
The idea was to keep it simple and not use a lot of different products.  I stamped the image in versamark and covered it with various colors from my Stampin' Pastels using a cotton ball.  This technique called Poppin' Pastels is one of my favorite.  It always brings out the colors in a bold way.  I started in the center with some Daffodil Delight.  Next I added some Tangerine Tango and Old Olive.  Lastly I put on some Pacific Point.  I then lightly rubbed the Pacific Point cotton ball over the outer area of the Whisper White cardstock.  As you are adding each color, blend it into the one before.  At the end I gently brushed my Pacific Point cotton ball over the entire area to clean up any dust left behind.  It also gave that little bit of shade to really pull the colors forward.
The sentiment is from my go to sentiment set, Sincere Salutations.  It is stamped in Basic Black Classic Ink.  You can easily make this card in any color scheme to match the occasion.  The ribbon is two pieces.  The first is long and adheres to the back.  The second is short and ties to the first piece.

You can order Stampin' Up! Products 24/7 by clicking on "Shop Now" in the upper right corner of My Demonstrator Website.

Products Used:
Stamps: Hello, Doily (wm #122845), Sincere Salutations (#115068)
Cardstock: Daffodil Delight, Tangerine Tango, Whisper White
Ink: Versamark (#102283), Basic Black (#101179)
Accessories: Real Red Satin Ribbon (#117291), Stampin' Pastels (#120962)

Stampin' Pastels (#120962)
Versamark (#102283)


Thursday, September 8, 2011

Embossing Folders--Not just for backgrounds

Anyone who has stamped with me knows I have a love affair with the embossing folders.  They are a quick and easy way to add that extra something to your cards.  I tend to use them for backgrounds when they feel plain.  But they can just as easily be the focal point too.
We made this card at the August Stamp Camp.  The Flower Garden Embossing Folder was designed to be part of the "Beyond the Garden" Product Suite on pages 106-107 of the 2011-2012 Idea Book & Catalog.  I think it goes equally well with the Paisley Petals Designer Series Paper on page 184.

And what do you think of that ribbon?  The New Artichoke Denim Jean Ribbon on page 194.  It is fabulous and also comes in Blue Jean.  I pulled out one of my stand by stamp sets "Oval All" and matching Scallop Oval Punch.  A few dimensionals and we are done.  Quick, easy and a great way to use those little pieces of DSP you have left over from cutting the sheet for other projects.

Order Stampin' Up! Products online 24/7 at My Demonstrator Website.  Have all of my blog posts sent to your Facebook News Feeds by liking my Demonstrator Facebook Page.

Products Used:
Stamps: Oval All (#)
Ink:  Bravo Burgundy (#105214)
Cardstock:  Marina Mist (#119668), Paisley Petals DSP (#122367)
Accessories:  Flower Garden Embossing Folder (#), Artichoke Denim Ribbon (#125054), Scallop Oval Punch (#119856), Big Shot (#113439), Scallop Trim Border Punch (#118402), Dimensionals (#104430)

Tuesday, September 6, 2011

Make your own chipboard with the Big Shot


For the last few months I have changed my monthly class format from a club to a stamp camp format.  This has allowed people to come as they are able and work more within their budget.  Each month we still do a variety of projects.  In August we did a series of projects using the Big Shot.  I showed you the "Beautiful Wings" card last week.  This week I wanted to show you another great use for your Big Shot.  Making your own chipboard.

The Big Shot is capable of cutting through many types of material from cardstock to fabric, chipboard and even thin metals.  Stampin' Up! sells sheets of chipboard that are easily cut with the Big Shot metal edge dies.  Not everyone has chipboard lying around though.  It is easy to make your own.  Simply cut multiples of the same shape from any of our cardstock colors.  You can also cut other materials around your house, like the boxes that most food comes packaged in.

For this example I cut 5 of each number out of Crumb Cake Cardstock.  The layers can be help together with a little bit of two way glue pen.  I chose Crumb Cake for the base of my homemade chipboard as most chipboard looks like a tan style cardboard.  You can then stamp on the cardstock, color it with inks or markers, or cut an additional layer from designer series paper or another cardstock color.  I left this one plain to match the embossed strip at the bottom of the page.  To make the strip at the bottom, I put the center of the strip in the Stripes Embossing Folder and ran it thru the Big Shot.  Then I moved the folder over so the last stripe lined up with the folder.  I then ran in thru the Big Shot just to the end of the embossing folder.  I did the same thing on the other side.  Now the stripes go all the way across.

The flowers on the left side are made with the Blossom Bouquet Triple Layer Punch.  There are so many ways you can use the pieces.  You can put the layers on straight or twist them up.  You can decorate them with brads, buttons or other small accents.  I attached the flowers to the page with snail if it was completely off the photo mat.  Any flowers that went over the photo were attached with a dimensional.  This way the photo could be added later.

The next Stamp Camp will be on Saturday, September 17th @ 11:00 am.  For more information or to register, check out My Demonstrator Website Calendar of Events.  Can't make it on Saturday, there is also a Monday option.

Order Stampin' Up! Products online 24/7 at My Demonstrator Website.  

Products Used:
Colors: Melon Mambo, Concord Crush, Bashful Blue, Pear Pizzazz, Whisper White, Pretty in Pink, Crumb Cake
Accessories:  Alphabet Simple Numbers (#115968), Timeless Type Alphabet (#115951), Blossom Bouquet Triple Layer Punch (#122464), In Color Glimmer Brads (#121005), Pearl Accents (#119247), Brights Designer Buttons (#119747), Tasteful Trim Die (#120893), Big Shot (#113439), Dimensionals (#104430), Lace Ribbon Punch (#122362), Stripes Embossing Folder (#123128)
Lace Ribbon Border Punch #122362
Brights Designer Buttons #119747
Blossom Bouquet Triple Layer Punch #122464

Saturday, September 3, 2011

Operation Lean On Me

I had the opportunity to meet an amazing group of ladies a couple weeks ago.  They are a group of Army Wives in a small unit with a lot of heart.  They have several "sister" units stationed around the globe that are going through deployments and general rough times.  These ladies wanted to reach out and brighten the days of some of their sister wives.  They chose to first support a unit from Fort Polk, LA that has unfortunately lost several soldiers during their latest deployment. They asked me to help them make some very special projects to remind the unit that they are not alone in their fight.  We made all of the wives a card and decorated candle.

Both projects use a technique I enjoy.  To make the flowers look softer in nature, you break up the fibers inside and then peel them apart into two pieces.  You can break the fibers in the cardstock by crumpling or running it through a crimper several times.  We used the crimper as it leaves a wavy style design to the cardstock when finished.  The candle box is made from a 6.5" square that was scored like a tic-tac-toe board at 1-3/4" on each side.  The sides were then punched with the scallop trim edge punch before folding into the box bottom.
I had such a fun time helping these woman support their "sister" unit and look forward to more projects with them in the future.

Products Used:
Stamp Sets: Word Play (mw #120308, cm #120651), Tiny Tags (wm #118091)
Ink: Stampin' Write Markers--Cherry Cobbler (#119681), Early Espresso (#119680)
Cardstock:  Early Espresso, Daffodil Delight, Old Olive, Whisper White, Cherry Cobbler
Accessories: 5 Petal Flower Punch (#119880), Scallop Trim Border Punch (#118402), Fun Flowers Bigz L Die (#121812), Big Shot (#113439), Crimper (#), Framed Tulip Embossing Folder (#121809), Jewlery Tag Punch (#117190), Two Step Bird Punch (#117191), Cherry Cobbler Scallop Dots Ribbon (#124138), Lace Ribbon Border Punch (#122362), Boho Blossom Punch (#119858), Clear Rhinestone Brads (#113144), Gold Brads (#104337), Dimensionals (#104430), Sticky Strip (#104294), Linen Thread (#104199)

Thursday, September 1, 2011

It's Time for the Holiday Mini Catalog!

The Holiday Mini Catalog starts today.  I am so excited for this mini to start.  It is FULL of great stamp sets, coordinating punches, new accessories and fabulous ideas.  You can view the catalog online here.

There are so many great things I don't even know where to start.  How about with Halloween?
 
The "Out On A Limb" Stamp Set is fun and has a lot of coordinating stamps to make a fun flying card or a spooky night scene.  This card, with it's fancy fold, will be one of the projects at my September Stamp Camp on Saturday, September 17th at 11:00.  You can register for the class on My Demonstrator Website Calendar of Events.    Can't come on Saturday?  There is a Monday night option also.

Products Used:
Stamps: Out on a Limb (wm #123822, cm #123824)
Ink: Stazon Black (#101406), Early Espresso (#119670), White Craft Ink (#101731), Stampin' Write Markers (Coloring Images)
Cardstock: Night of Navy, Daffodil Delight, Cherry Cobbler, Whisper White
Accessories: Simply Scored (#122334), Paper Snips (#103579), Word Window Punch (#122161), 2-1/2" Circle Punch (#120906), Dimensionals (#104430)