
.JPG)
TWISTED CARD BASE DIRECTIONS:
Materials: 4-1/4" x 11" piece of cardstock.
Step 1: Score the cardstock in half diagonally from corner to corner. I place each corner in the groove of my paper trimmer. Be sure to use the light colored scoring blade.


Step 2: Fold the cardstock on the scored line.

Step 3: Turn the cardstock 90* in the paper trimmer and score symetrically down the middle. You will need to make this mark heavier as there are two layers of cardstock to go through.
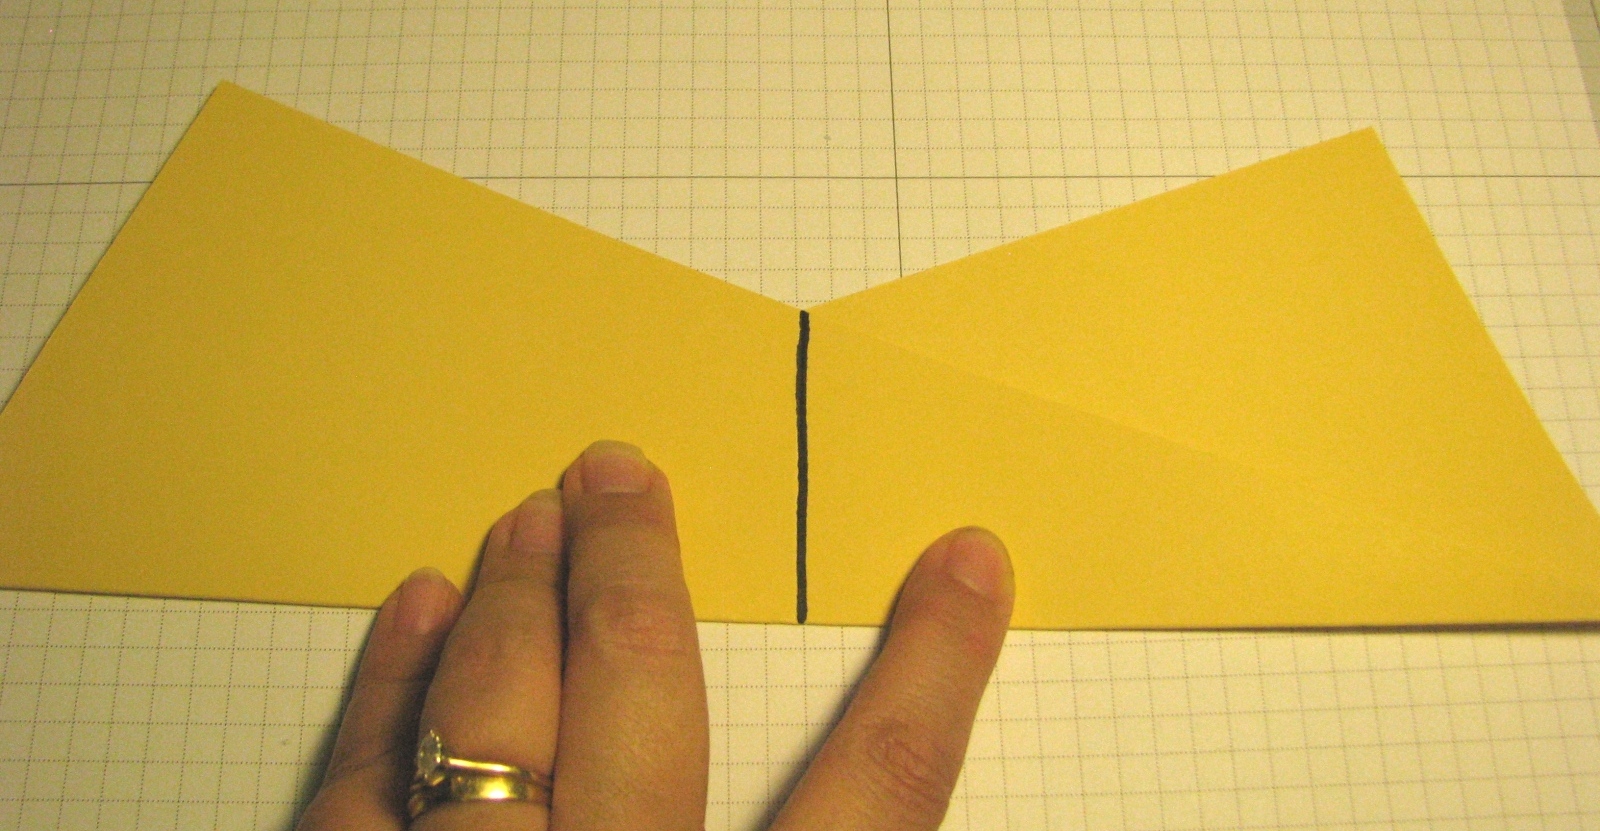

Step 4: Fold the card in half and press everything with a bone folder.
Step 5: Decorate card as you wish. If you want to close the front pocket, put adhesive where the red marks are, then fold the card as above. You can put similar adhesive to close the inside pocket if you wish. In my original card I closed only the front pocket.

MAKING PIECES FOR THE FRONT AND INSIDE. If you do this with two pieces of Designer Series Paper, you can mix and match the pieces for the inside and the outside.
Step 1: Start with a 5-1/4" x 4" piece of cardstock or Designer Series Paper.

Step 2: Measure up from the lower left corner 2-1/8". Make a small pencil mark or crease in the cardstock. Measure over from the upper right corner 4-1/2" Make another small pencil mark or crease in the paper. I drew lines to show where you will cut.

Step 3: Cut from the 2-1/8" mark to the lower right corner. Then cut from the 4-1/2" mark to the corner where the 2-1/8" mark was. You will discard the corner with the slash marks.

If you have any questions, please post in the comment section. I will do my best to answer them.
4 comments :
Nice tutorial! This is such a fun style of card to make. I definitely need to make more!
Thanks so much for the tutorial! Very helpful and easy to understand. Now I might actually make one of these :)
Very cool. Thanks for showing us how to make these. I've pinned it so I don't forget. :)
Neat card! I have to try one of these!
Post a Comment