Thursday, July 30, 2015

Paper Pumpkin Alternate Design

With the Paper Pumpkin 50% off promotion going on I wanted to share a few things for those who might be wondering what you really get.


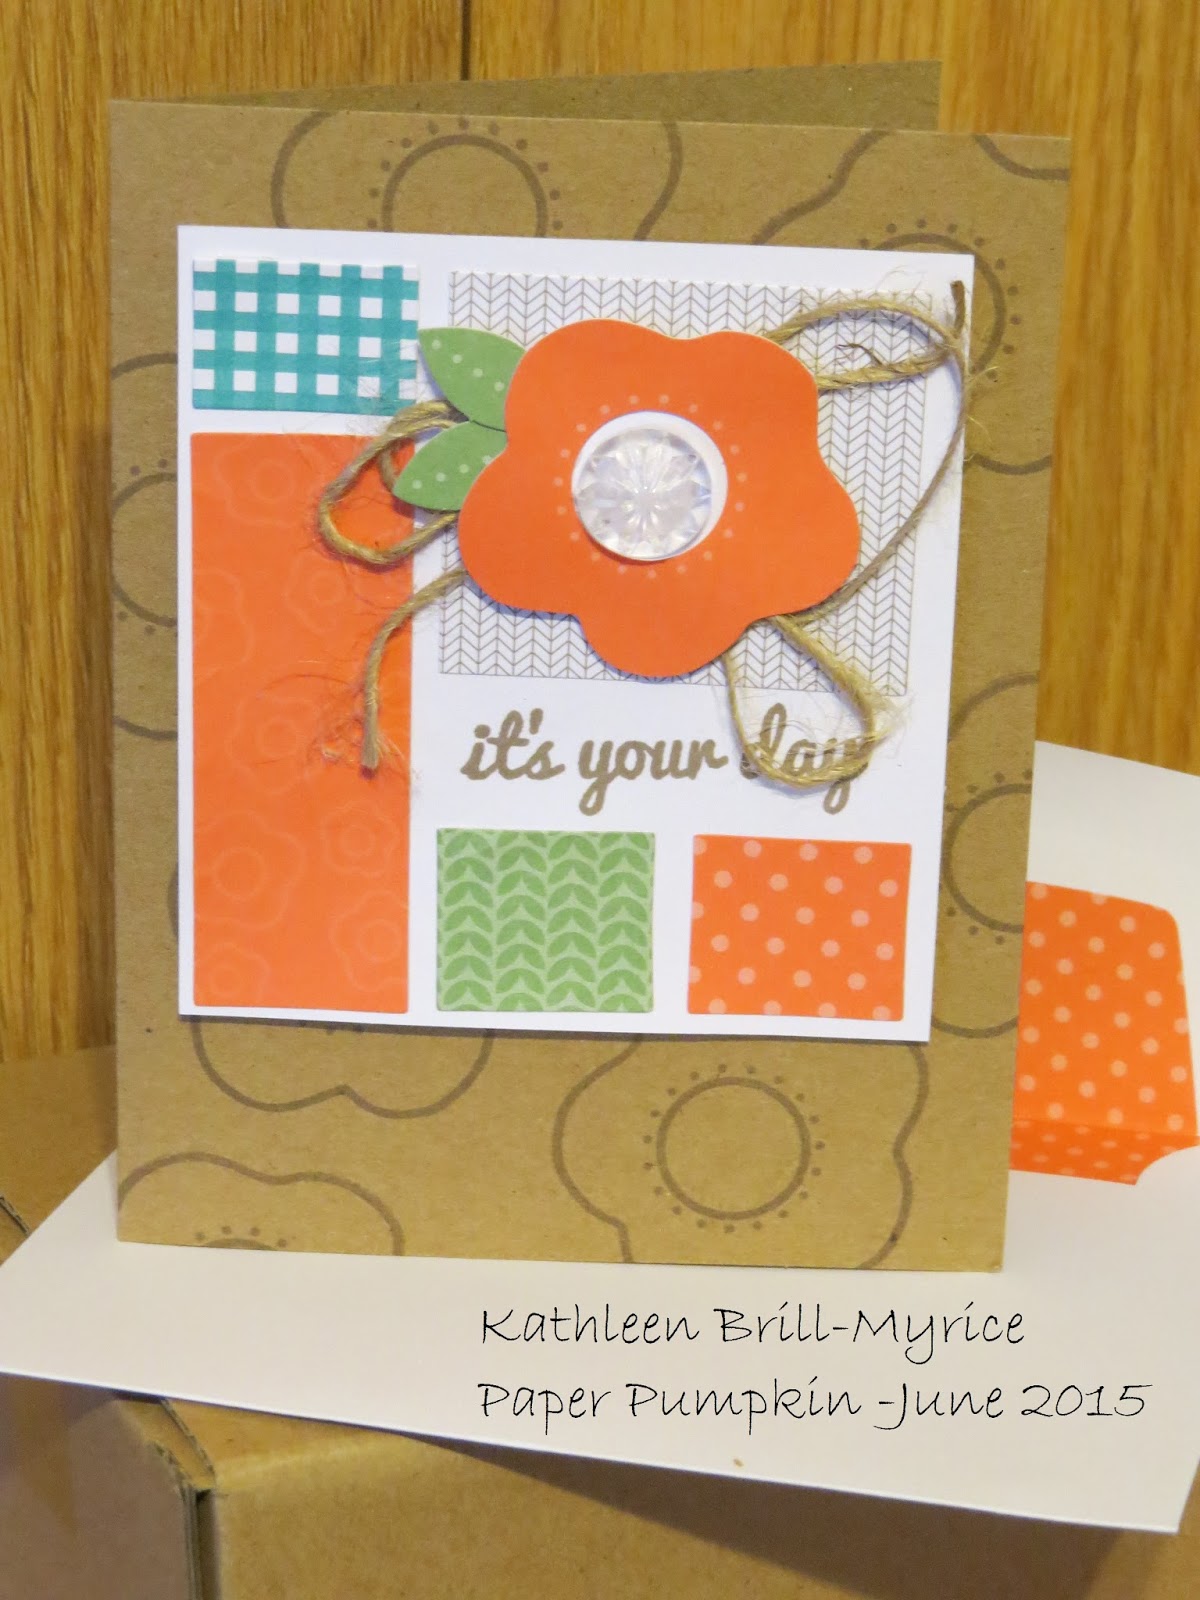
Here are the original projects from June 2015.  My Paper Pumpkin box came with enough supplies to make 4 of each of the 2 different projects.  You receive step by step instructions with photos to help you assemble your kit.  Paper Pumpkin even had their own YouTube channel where they post videos about each month's kit.

Paper Pumpkin comes with EVERYTHING you need to create that month's project.  You get ink, stamps and all the consumable supplies.  On occasion you may need some snail or liquid glue adhesive, but Paper Pumpkin comes with dimensionals and glue dots when needed.


The best part is you can still do the projects your way.  Change the sentiment or layout.  Switch it up a little and have fun.  Or just sit with your box at your local coffee shop and enjoy some time to yourself.  These are just two of the alternate projects I made with my June 2015 Paper Pumpkin Kit.  I post more ideas in my Pumpkin Patch for subscribers who select me as their demonstrator.

Have you seen other Paper Pumpkin Projects that you liked but missed out on?  As a subscriber you can order refills (just consumable supplies) and full kits (including stamps) of many of the past kits.  You can see what is available in my SU! Online Store HERE.

Do you still have questions about Paper Pumpkin?  Leave a comment here or email and I will happily answer them for you.
Are you ready to subscribe to Paper Pumpkin?  Go to www.paperpumpkin.com to subscribe.  Use the Promo Code HALFOFF before September 10, 2015 and receive 50% off your first two months.  Be sure to Select Kathleen Brill in Lawton, OK as your demonstrator to take advantage of my Pumpkin Patch and alternate ideas.


My Demonstrator Website

Wednesday, July 29, 2015

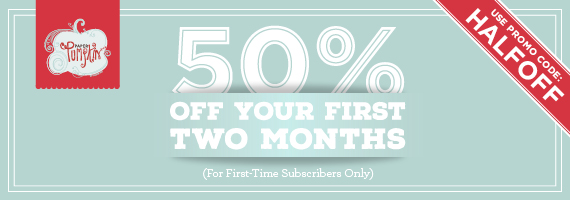
Paper Pumpkin 50% Off Promotion


If you've never tried Paper Pumpkin, now is a great time-get 50% off your first two months. With a deal like this, you'll want to invite everyone you know to give it a try too!

Offer Dates: July 23-September 10, 2015

Offer Details: Use the code HALFOFF to join Paper Pumpkin before September 10, 2015, and get 50% off the first two months! After that, keep the creativity coming for only $19.95 + tax per month (shipping included).

The Fine Print:
  • For new subscribers only.
  • Available for month-to-month subscriptions, not prepaid subscriptions.
  • Discount applied to one kit per month for the first two months of a new subscription. After the first two months, the price for each month's kit will go to the regular price: $19.95.
  • You need to visit PaperPumpkin.com to join.
  • Enter the Promo Code, HALFOFF when you sign up.
  • New subscribers must join by Thursday, September 10, 2015; 11:50 PM (MT).
You can cancel your subscription at any time.  All subscribers who designate me (Kathleen Brill of Lawton, OK) as their demonstrator will receive an invitation to my Pumpkin Patch, where I share alternate projects made with the monthly kit.  Subscribers local to the Lawton, OK area are also invited to attend my Paper Pumpkin event and put together their kits with my group.  There is no additional charge for the Pumpkin Patch or Paper Pumpkin Local Group.

My Demonstrator Website

Tuesday, July 28, 2015

Celebrating 500 Posts with the 555 Special!

I was looking at some of the stats on my blog and realized I just passed 500 posts on my page.  #500 was the Stampin' Addicts Blog Hop.  YEAH!!

To Celebrate, I am offering the 555 Special.
That breaks down into
500 posts + $50 order + $5 Prize = Happiness for everyone!

For the next 5 days (ends at 11:59 pm on Sunday, August 2, 2015) if you place an online order of $50 or more (before tax & shipping), I will send you one of the $5 prizes of your choice from the list below.  Want more than one prize?  No problem.  Order $100 and I will send you two, $150 and I will send you three.

Per Stampin' Up! policy this is only available to my US Customers.  This offer is not a promotion by Stampin' Up! and only offered from me for a short time.

How to claim your prize:
Step 1:  Place an order in my ONLINE STORE for $50 or more (before tax & shipping).
Step 2:  Email me with you selection from the list below.
Step 3:  Wait for the Big Brown Truck to bring your Stampin' Up! products.
Step 4:  Check your mailbox for the special prize from me.

List of Prizes (all valued at $5)
Sequin Trim is available in Bermuda Bay, Blushing Bride, Gold or Silver
1/8" Ribbon is available in Gold or Silver

Built for Free Using: My Stampin Blog


My Demonstrator Website

Friday, July 24, 2015

Feel Goods Stamp Set--Final Day

I have enjoyed sharing the Feel Goods Stamp Set with you this week.  I have one last card to show you.  This card was a Plan B design.  I originally wanted to show you a new technique today, but it was just not cooperating.  So this is a twist on that technique.  It is also simple, so if you  need a card in a flash this is one for you.


I took my Circle Framelits and cut the 4 smallest shapes out of a piece of transparency.  I then laid the transparency onto a Whisper White Note Card and sponged several circles in So Saffron.  I modes the sheet around and sponged circles in Calypso Coral and Wisteria Wonder.  I tried to overlap several and have some hanging off the page.  The final sentiment from the Feel Goods Stamp Set is stamped in Momento Black Ink.  I then added a piece of Calypso Coral Thick Bakers Twine and some Rhinestone Accents to finish of the note card.  These cards are wonderful.  You get 20 Note Cards and Envelopes in the package.  Being slightly smaller than a standard card (5" x 3-1/2") they are perfect for a quick thank you or simple note to anyone.

PRODUCTS USED:
Built for Free Using: My Stampin Blog


My Demonstrator Website

Thursday, July 23, 2015

Feel Goods Stamp Set--Day 4

Sunshine and Rainbows!  They just go together.  Have you checked out Pals Paper Arts yet?  They have helped me a lot this week.  We all get into those little ruts of not knowing where to start.  The sketches have been a great tool for me.  Here is the sketch for today's project.  It was posted back in October 2014.  Again, it had a large area for my sentiment and the horizontal strips played perfect for my Sunshine and Rainbows thinking.

First, I knew I wanted more than 4 horizontal strips.  I went straight to my brights and pulled the colors of my rainbow.  A little bit of math and I cut 5"x 4" strips of each color.  I then pulled the coordinating markers to color my stamp.  I used the font within the stamp to decide how to color the words.  To dress up the sentiment I cut it out with the Deco Labels Framelits (#130102).  


I laid the sentiment down and decided it needed a border.  Since the Daffodil Delight strip would be cover the most I cut a Daffodil mat the next size larger from my Deco Label Framelits.  It still needed a little something and what goes better with Sunshine and Rainbows than some flowers in bloom.  I punched them out with my Itty Bitty Punch Pack (#133787) and embellished them with a few Pearl Basic Jewels (#119247).  

I hope this card has brightened your day.  Thanks for stopping by and be sure to check back tomorrow for my final Feel Goods project of the week.

PRODUCTS USED:
 
Built for Free Using: My Stampin Blog


My Demonstrator Website

Wednesday, July 22, 2015

Feel Goods Stamp Set--Day 3

Today is sweet and simple.  I recently sent several cards out in the mail.  I had some cute little buttons on them and a few layers that made the envelope somewhat bulky.  The post office had to charge me additional so they could be hand fed.  Not a big deal, except I mailed over 20 of them.....adds up over time.
This card, inspired again by a Pals Paper Arts Sketch, was purposely made without the frills so it could be mailed easily.  The card is fairly straight forward, but I will give one note.  The white panel with the sentiment is longer than you see.  I left a space between the Navy strip and the Cucumber DSP to slide the white panel into.  This way I could line up the panel with the edge of the card.


PRODUCTS USED:
Built for Free Using: My Stampin Blog

My Demonstrator Website

Tuesday, July 21, 2015

Feel Goods Stamp Set--Day 2

Today I continue my showcase of the Feel Goods Stamp Set with the help of the talented ladies at Pals Paper Arts.  Again I used one of their weekly sketches.  This one from November 2014.  What prompted me to go back so far on their site and use this sketch?  They have a link on their sidebar to all of their challenges.  I then copied and pasted them into a word document.  When I had a few pages full of sketches I stopped and printed them out.  They sit on my work table as a reference for those moments I don't have the brain power to think of a layout.  Here is the sketch I used. 
Again, I looked for a sketch that had a large area for the sentiments in this stamp set.  I then picked my pattern paper to go in the background.  I wanted something that had a softer shade color to use for my sentiment area.  I picked the English Garden Designer Series Paper (#138440) and Mint Macaron for my stamping area.  I chose two other colors from the DSP for the horizontal strip.  I went with Hello Honey and Whisper White, then punched the 3/4" strips with my Triple Banner Punch (#138292).  
Now I needed something to dress up the card a little.  I pulled out all the ribbons that matched the colors in the DSP.  I laid each one down on my card until I found one that I liked.  The Blushing Bride Sequin Trim (#138400) worked nicely with the Blushing Bride card base.  I put a mini glue dot on my last sequin and fold it over to the second sequin.  Doing this at both ends helps to keep it from unraveling.  I attached it to the card with several mini glues dots spaced about 1-1/2" apart.  

I picture this card with a small bouquet of flowers to celebrate the latest accomplishment in your friends life.

PRODUCTS USED:
Built for Free Using: My Stampin Blog


My Demonstrator Website